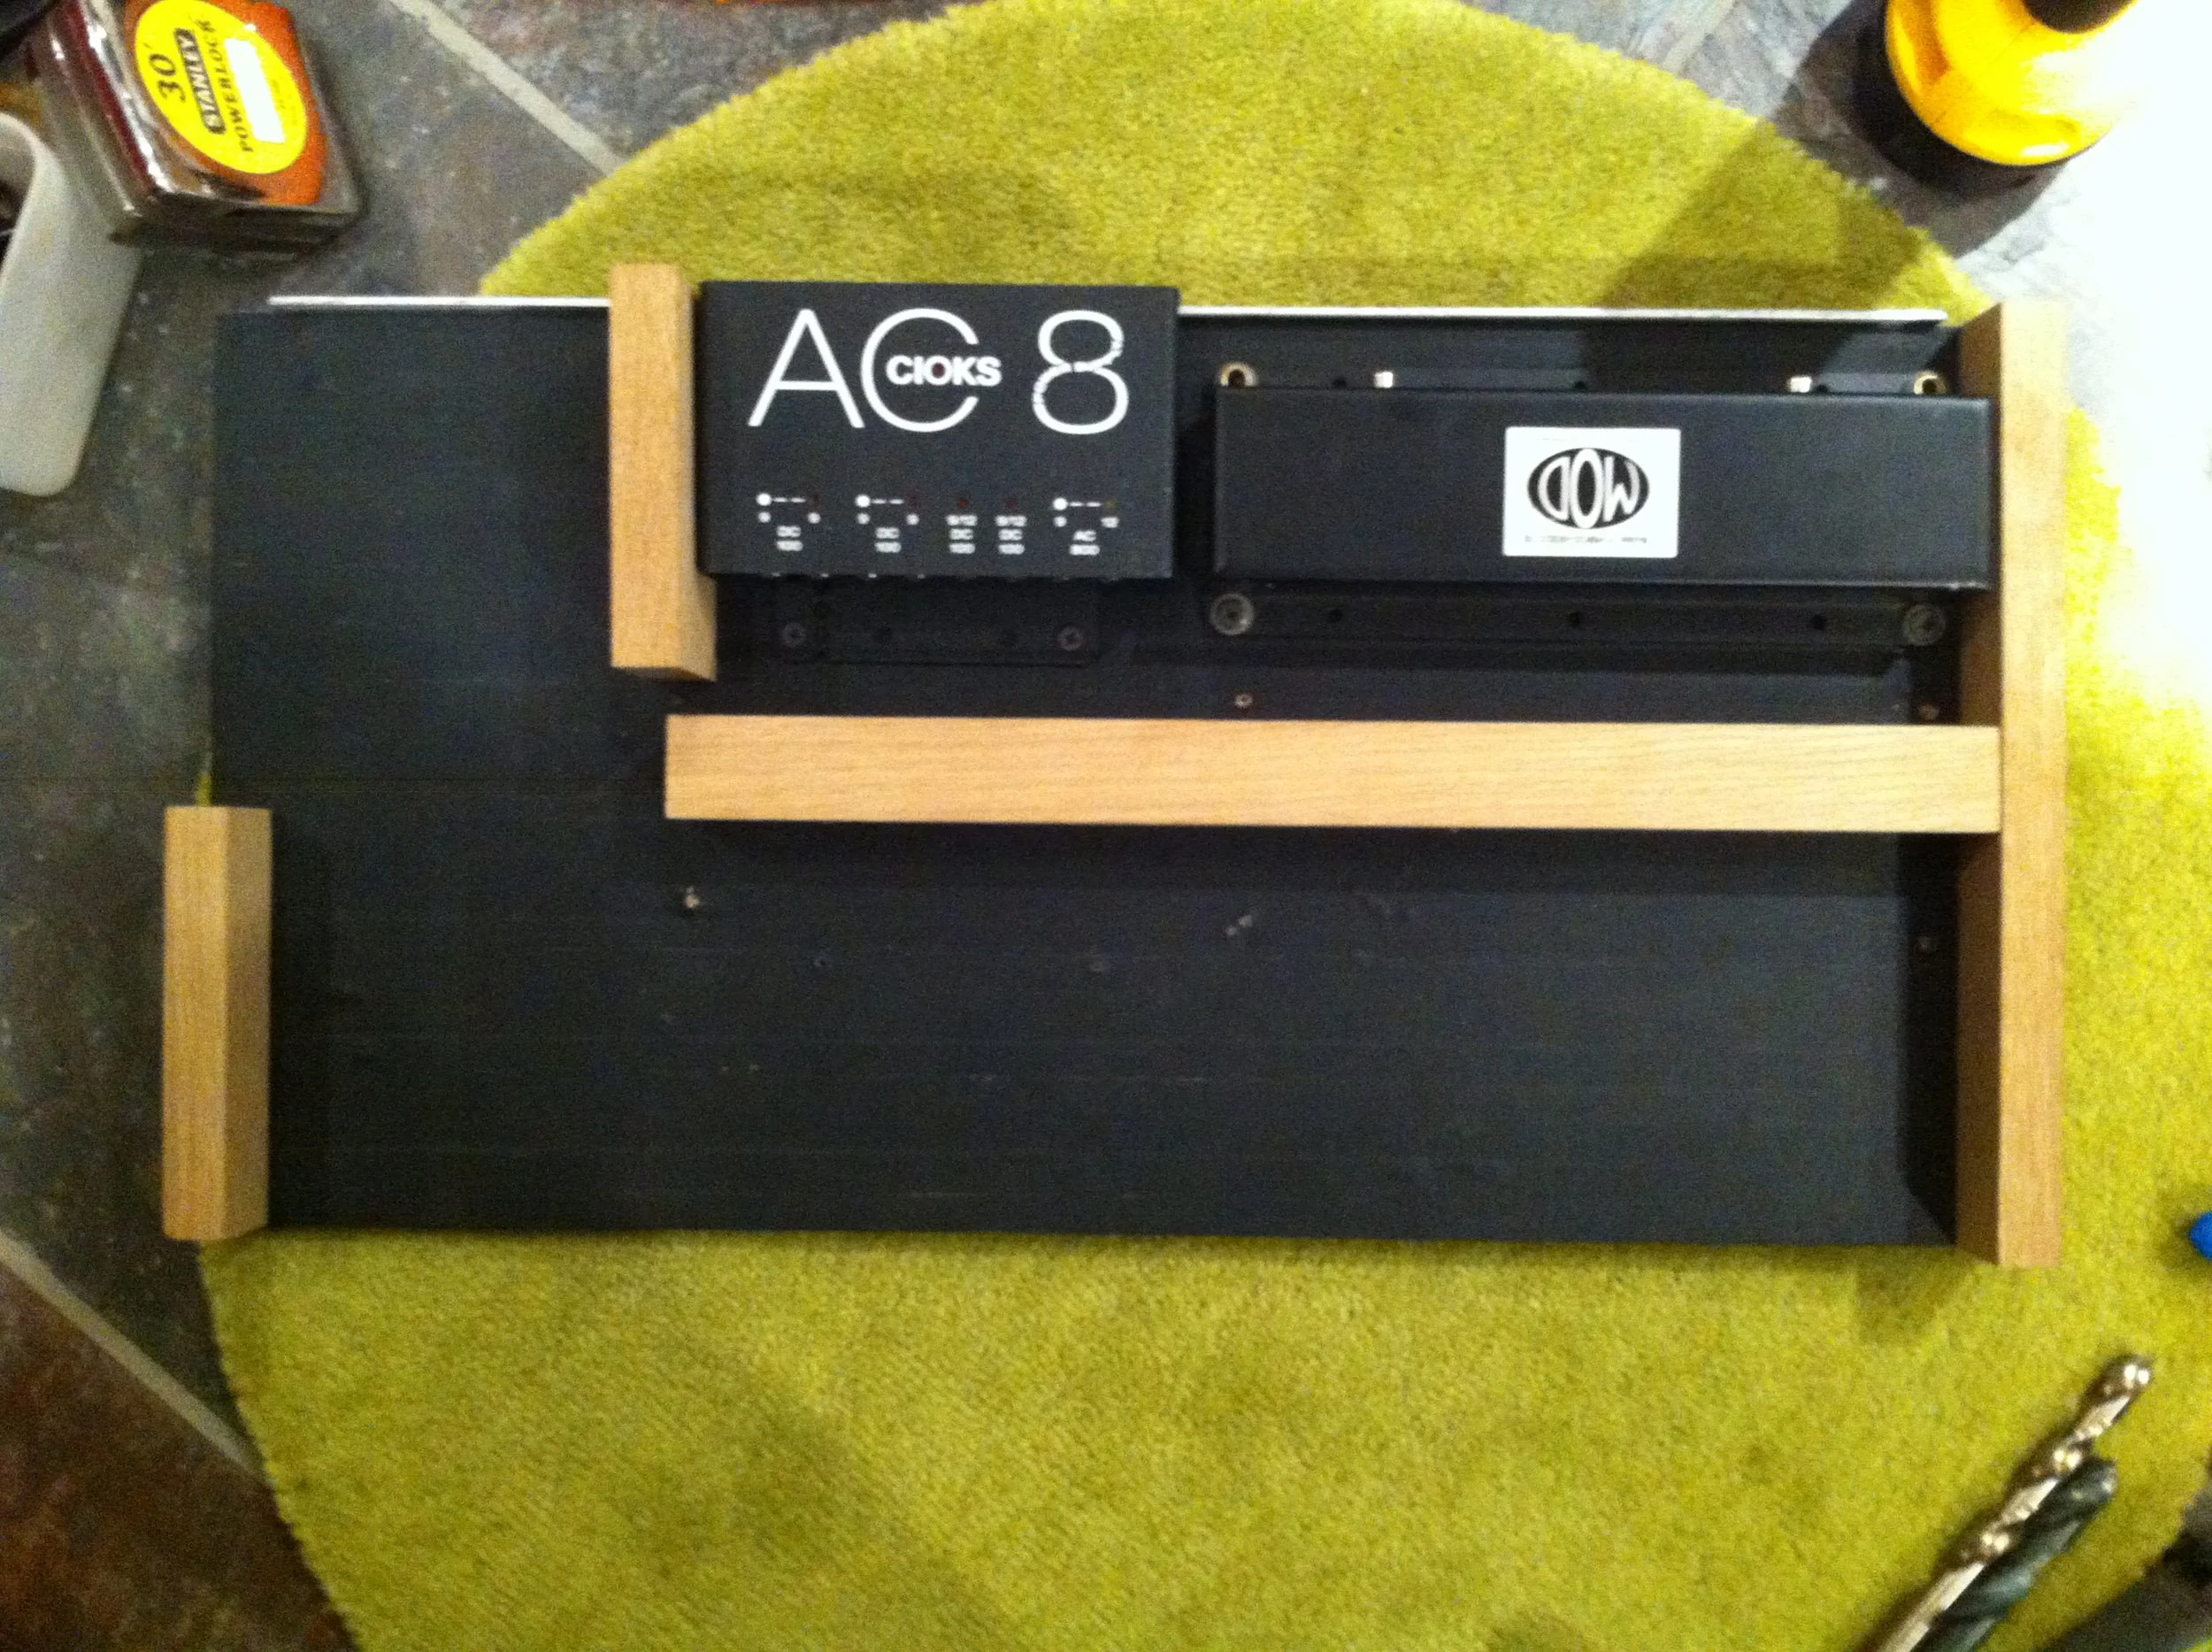
Project 002 - Pedal board build
I have a habit of tearing apart and rearranging my pedal board for just about every tour that I go on. Earlier this year, I had switched the entire board over to a 6-channel true bypass strip and ran all the pedals through this system. The signal chain went something like, Tuner -> Tremolo -> Boost -> Tape In -> Distortion -> Spring Reverb.
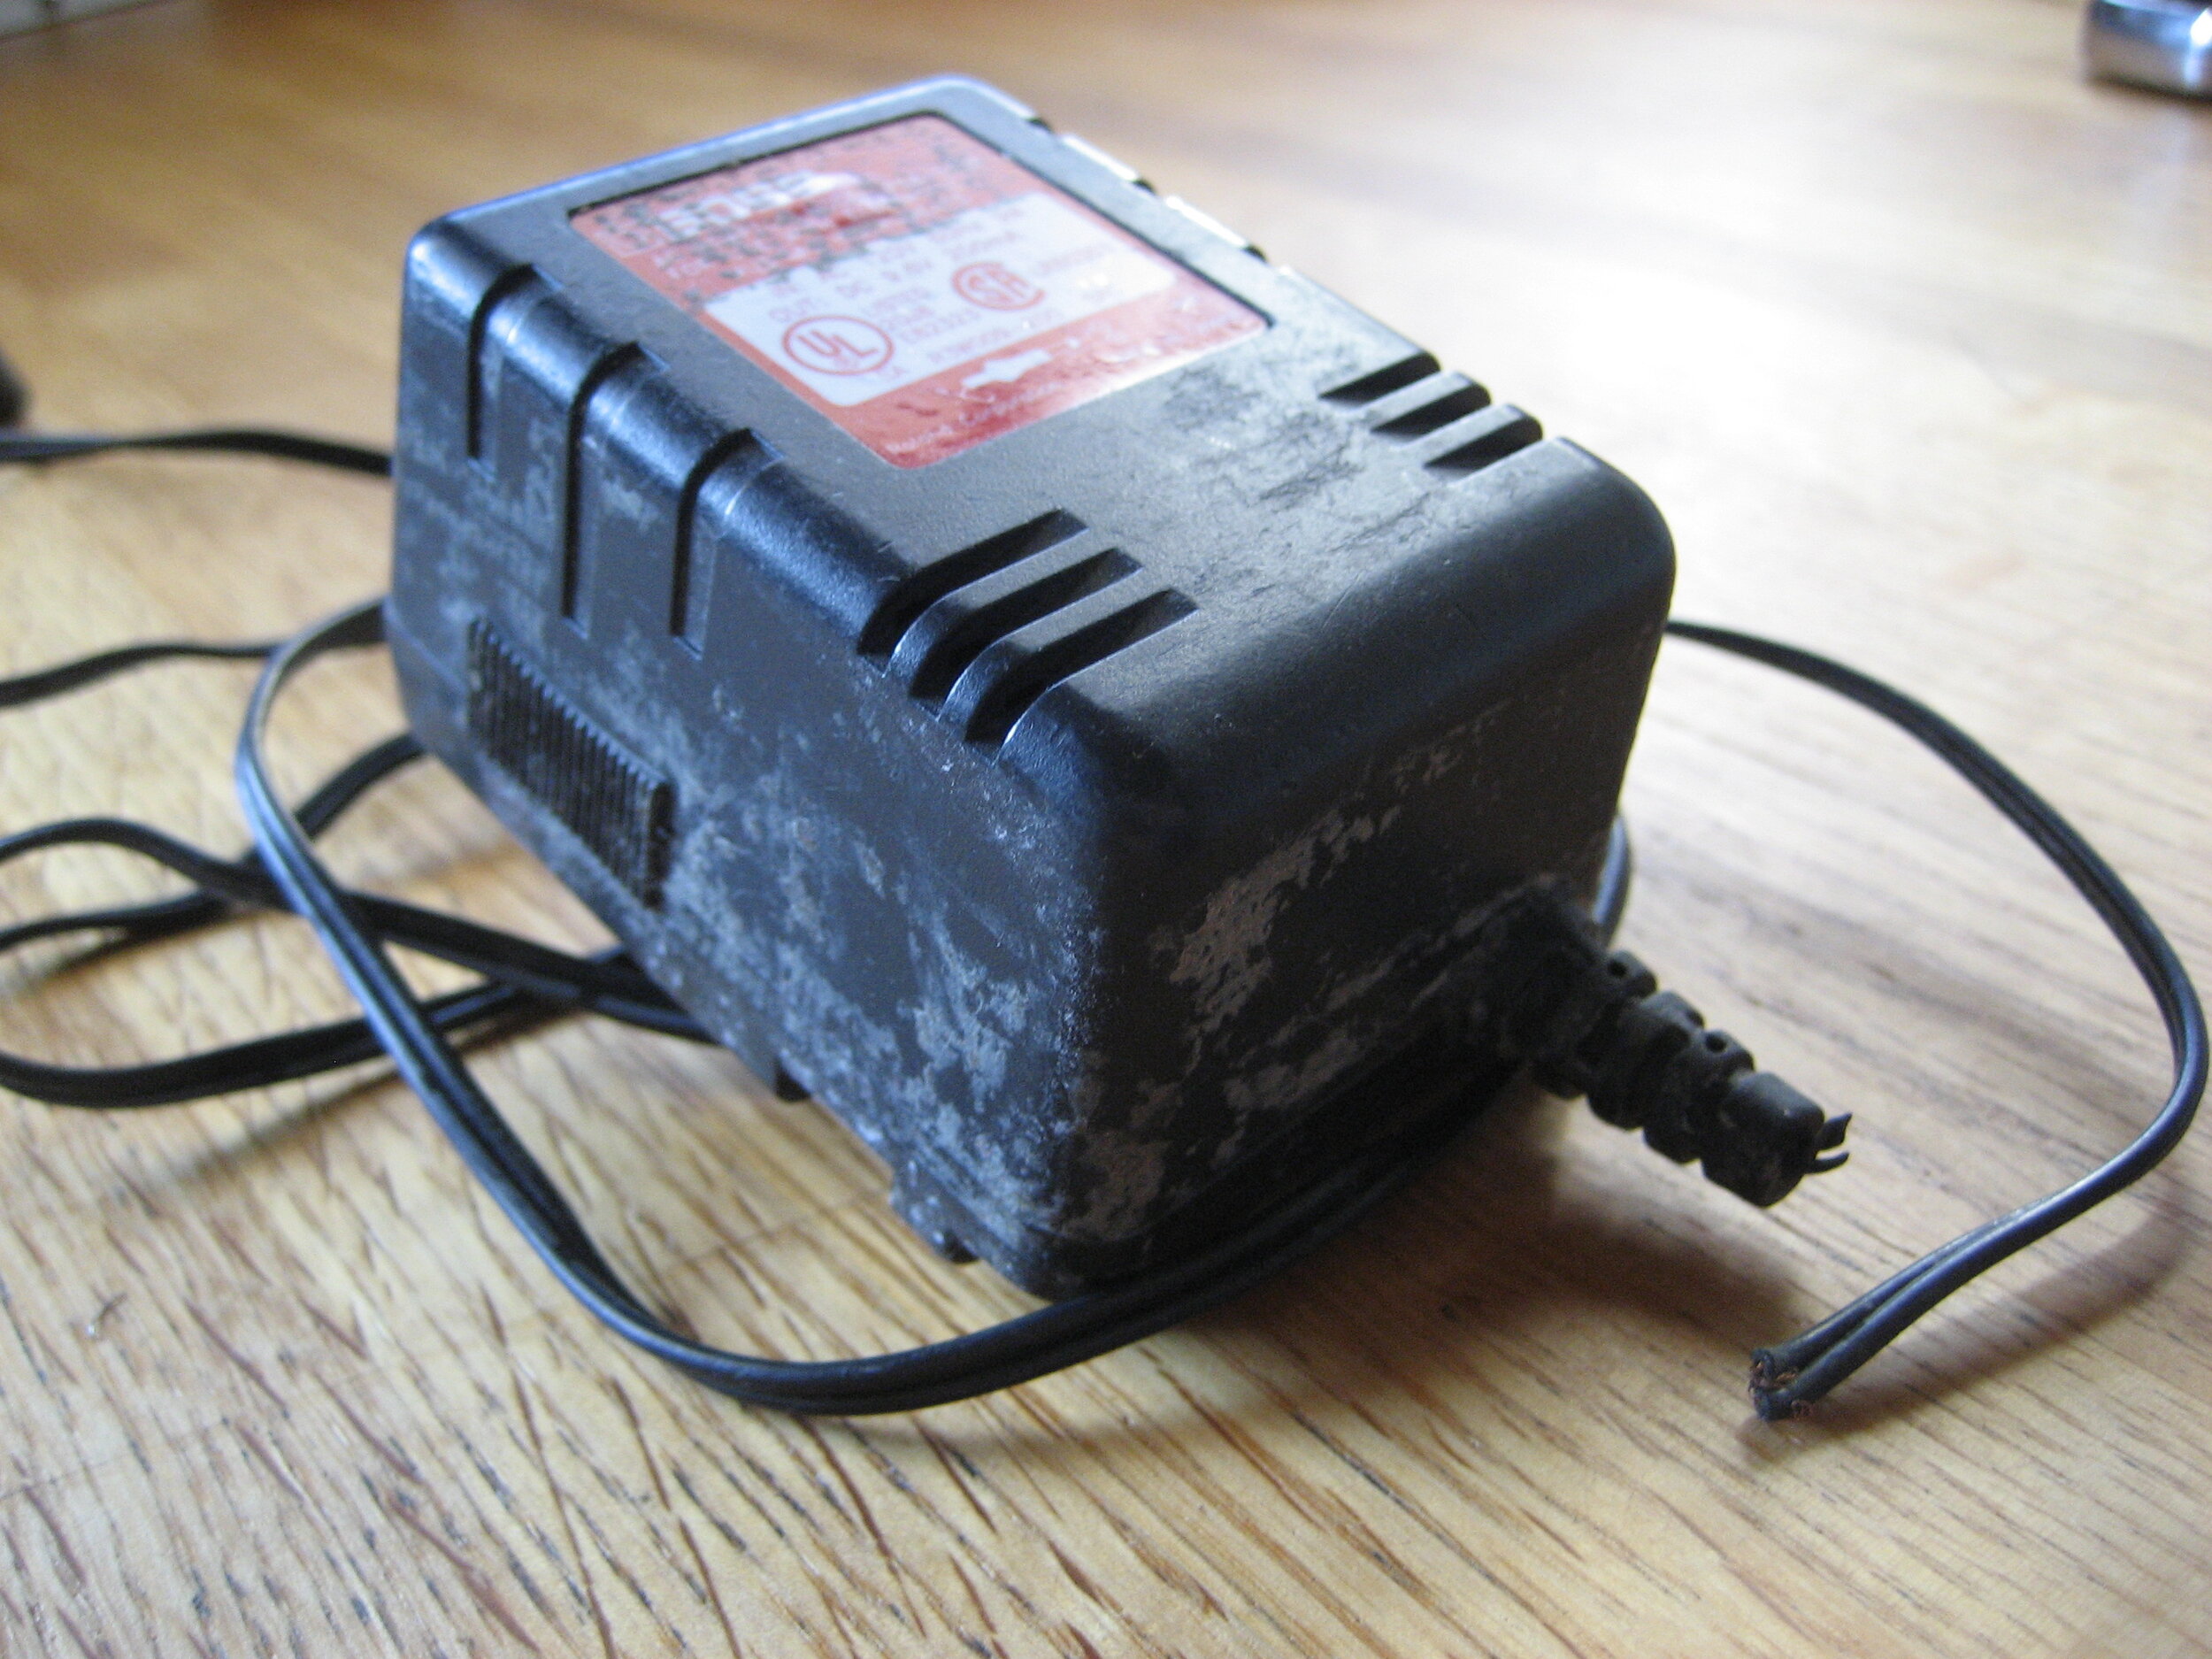
Project 001 - Fixing an old (Boss) power supply
If you're like me, you have a whole bunch of these kinds of power supplies all mangled up and lying broken in a box or tossed in a drawer somewhere. Instead of throwing them out and buying a new one, here's a simple 15 minute process for returning your power supply to good as, or better, than new working condition.